

 En
En
 Español
Call Us
+86 0572-5911661

2026-07-06
Content
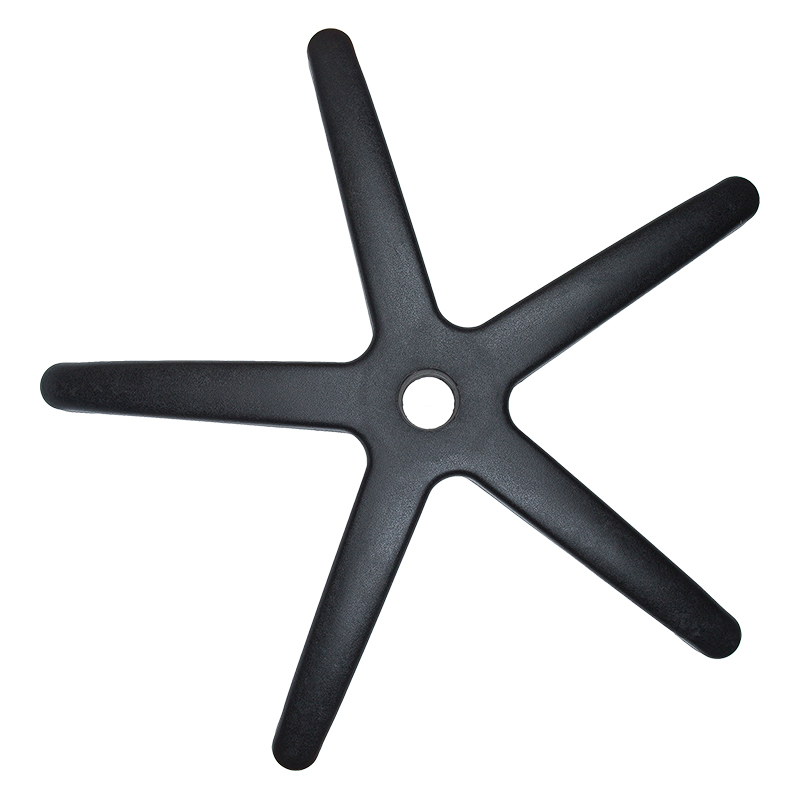
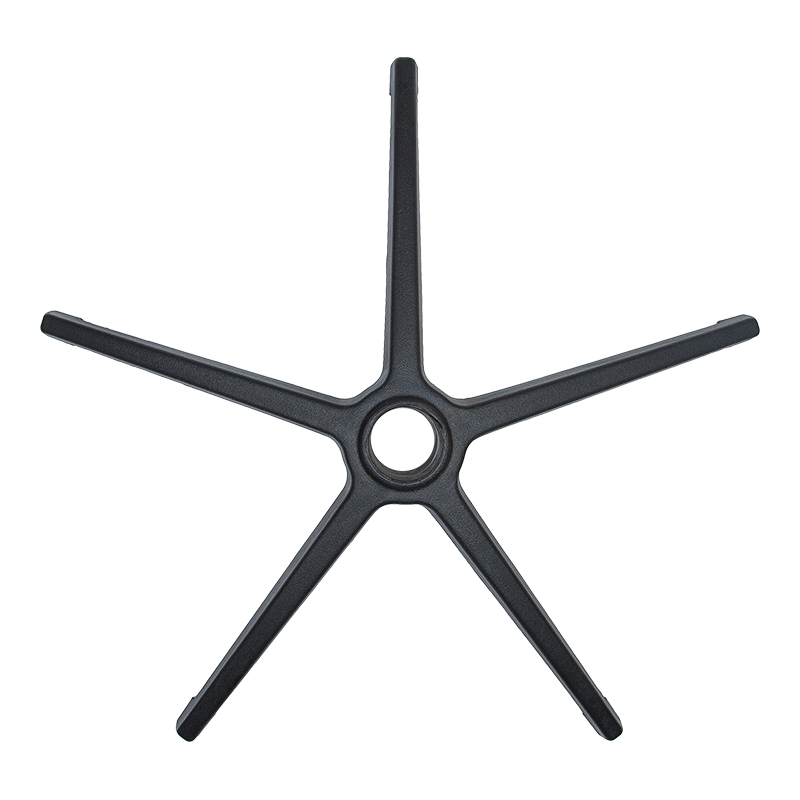
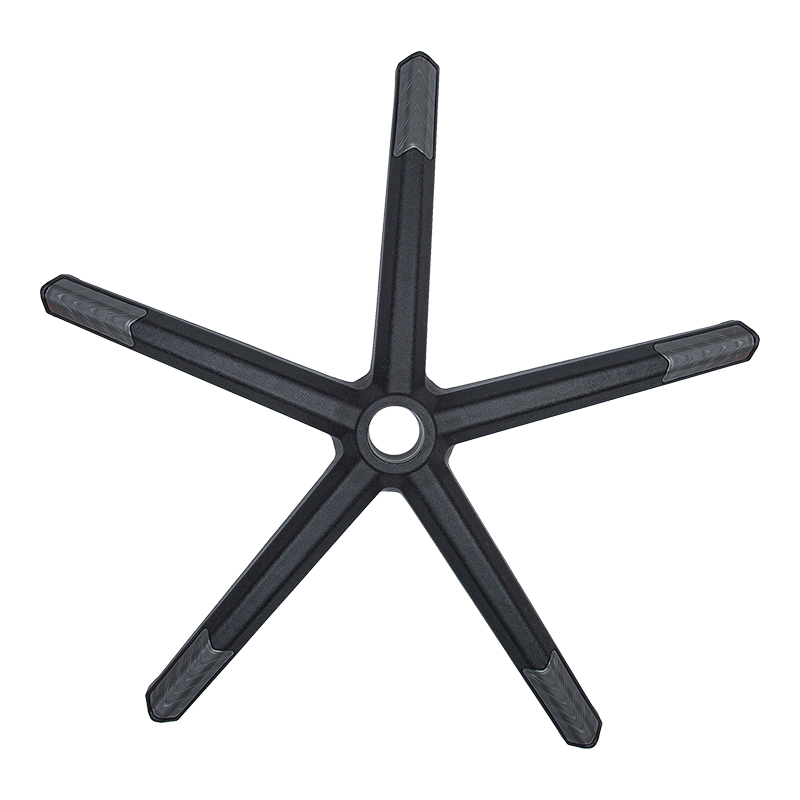
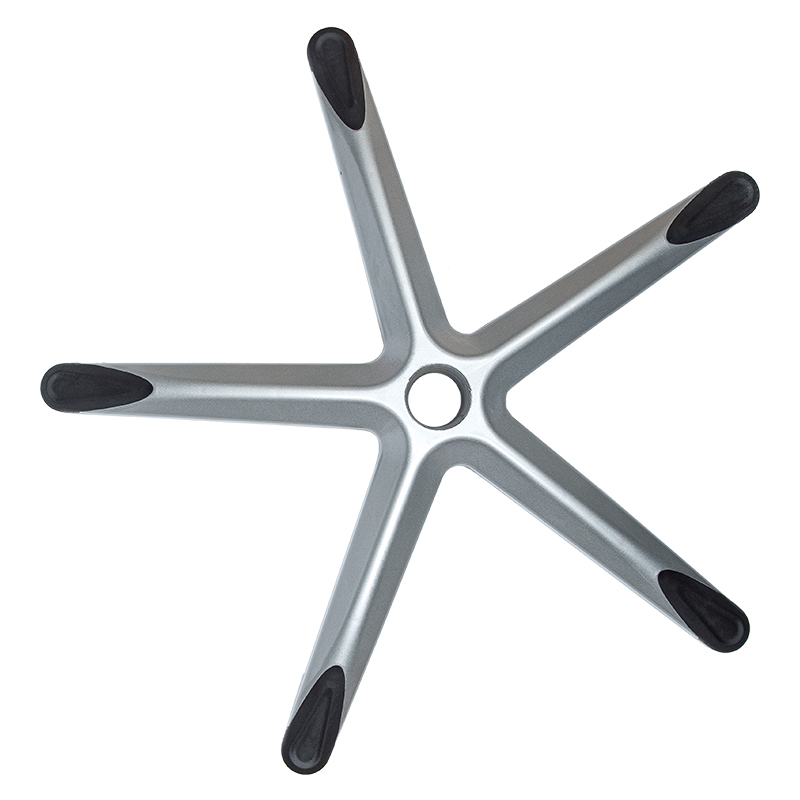
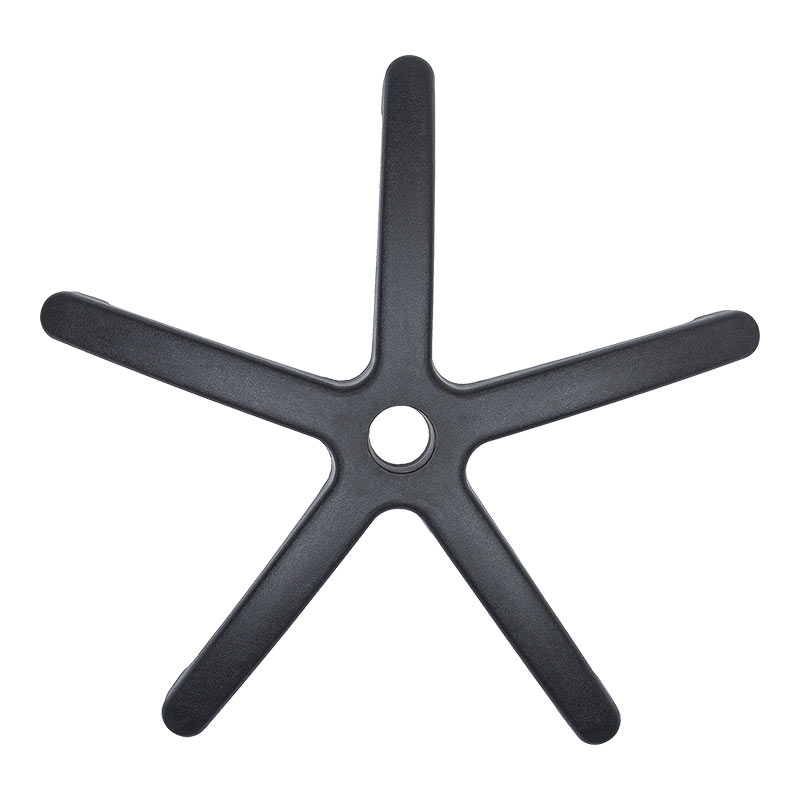
An office chair replacement base is usually the first part to fail on a heavily used task chair, since the five-point base and its casters absorb constant rolling weight, shifting loads, and the friction of being dragged across carpet or hard flooring day after day. Cracks radiating out from the caster sockets, a base that wobbles when the chair is fully loaded, or casters that no longer sit flush against the floor are all signs that the base itself has reached the end of its service life rather than a problem that can be solved with tightening or lubrication. Because the base is a load-bearing component sitting directly beneath the gas cylinder, a compromised base is also a safety issue, not just a cosmetic one, since a cracked base can fail suddenly under weight.
Choosing an office chair replacement base comes down to matching two dimensions: the diameter of the base, typically measured from center to the tip of one leg, and the size of the center hole that accepts the gas cylinder's collar. Most standard task chairs use a base in the 26 to 28 inch diameter range, though larger executive and gaming chairs often use wider bases for extra stability, so measuring the original base before ordering a replacement avoids a mismatch that leaves the chair feeling unstable. The center hole diameter matters just as much, since a hole that is too large will let the cylinder wobble inside the base, while a hole that is too small will prevent the cylinder collar from seating properly at all.
Material choice is the other consideration worth thinking through when shopping for an office chair replacement base, since nylon bases are lighter and quieter on hard flooring but can flex or crack sooner under heavy daily use, while steel or chrome-reinforced bases cost more but hold up significantly longer under sustained commercial use, such as in call centers or shared workstations where chairs rarely sit idle. For anyone who has already gone through one base failure, upgrading to a heavier-duty replacement base at the same time as swapping in new casters is generally worth the modest extra cost, since it addresses both wear points in a single repair rather than revisiting the chair again in another year or two.
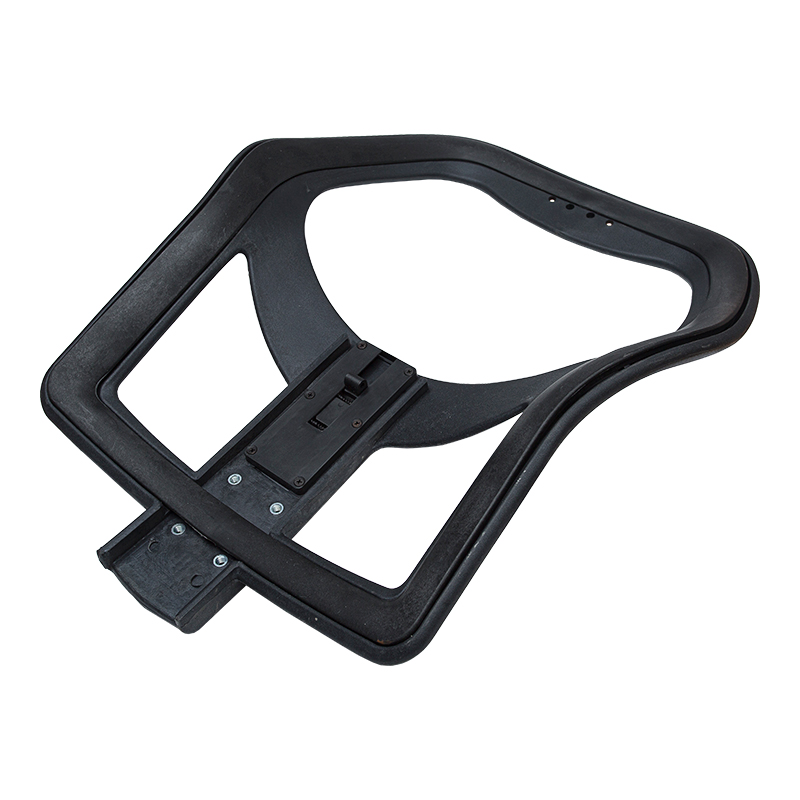
An office chair repair kit typically bundles the handful of components that wear out fastest on a task or executive chair: replacement casters, a tilt-tension knob, armrest pads, a seat height lever, and sometimes a full gas cylinder, all sized to fit common chair frames rather than one specific model. Buying a kit rather than sourcing parts individually makes sense when more than one component has started to fail at the same time, which is common on chairs that have been in daily use for several years, since the same wear cycle that degrades the casters is usually putting equivalent stress on the tilt mechanism and height adjustment lever.
Before ordering an office chair repair kit, it helps to identify exactly which symptoms the chair is showing, since a chair that slowly sinks during the day points to a failing gas cylinder, a chair that squeaks or feels loose when reclining points to the tilt-tension assembly, and a chair that rolls unevenly or leaves marks on flooring points to worn casters rather than a base or cylinder problem. Matching the kit to the actual failure point avoids paying for components that don't need replacing and keeps the repair straightforward rather than turning into a full chair rebuild.
Universal-fit office chair repair kits work well for standard 5-star base chairs using common cylinder and caster stem sizes, but chairs from certain manufacturers use proprietary mounting plates or non-standard cylinder collar diameters, so checking compatibility against the chair's model number before purchasing saves the trouble of returning parts that don't seat correctly. Keeping a basic repair kit on hand is a practical way to extend the working life of an otherwise solid chair frame, since the seat pan, back frame, and mechanism housing usually outlast the smaller wear components by a wide margin.
Learning how to dismantle an office chair correctly starts with removing the casters first, since they simply pull straight out of the base with firm, even force and doing this first reduces the overall weight and bulk of the chair before tackling the larger components. Next, the base itself separates from the gas cylinder by turning the chair upside down, bracing the base, and pulling straight down along the cylinder's length, since the base is held on by friction fit around the cylinder's lower collar rather than by screws or bolts, so no tools are typically needed at this stage.
With the base removed, the gas cylinder can be pulled free from the seat mechanism's mounting collar using the same straight-pull technique, though a rubber mallet or a firm downward strike against a solid surface is sometimes needed to break the friction fit on cylinders that have been in place for years. From there, the seat pan, back frame, and armrests are typically held on with visible bolts or hex screws accessible from underneath the seat pan, and working through them in the order they're encountered, rather than trying to force a section free before its fasteners are removed, prevents cracking the plastic mounting brackets that many chairs use to secure the mechanism housing.
Knowing how to dismantle an office chair fully is useful well beyond emergency repairs, since it makes moving, deep cleaning, and swapping in an office chair replacement base or new casters far more manageable jobs, and it also makes it easier to diagnose exactly which internal component is causing a squeak, sag, or wobble rather than guessing at the problem with the chair fully assembled. Keeping the removed bolts and small hardware grouped by section, rather than in one loose pile, makes reassembly considerably faster once the repair or part swap is complete.
| Chair Symptom | Likely Cause | Recommended Fix |
|---|---|---|
| Wobbly or cracked base | Worn or damaged base legs | Office chair replacement base |
| Chair slowly sinks | Failing gas cylinder | Office chair repair kit with cylinder |
| Loose or cracked armrest | Worn mounting bracket or pad | Gaming chair armrest replacement |
Common chair failure points matched to the corresponding replacement part or repair approach.
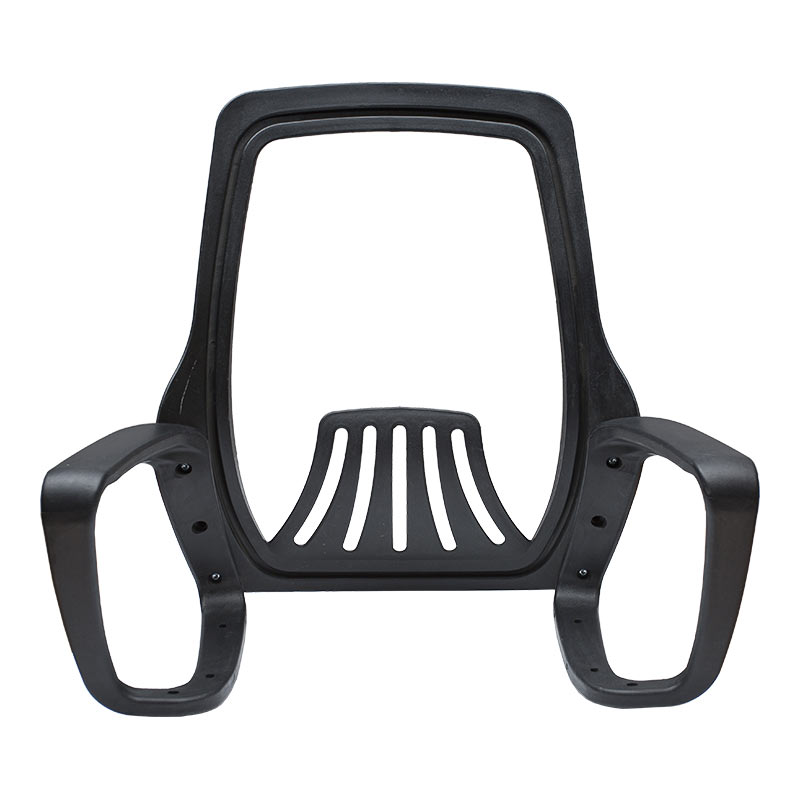
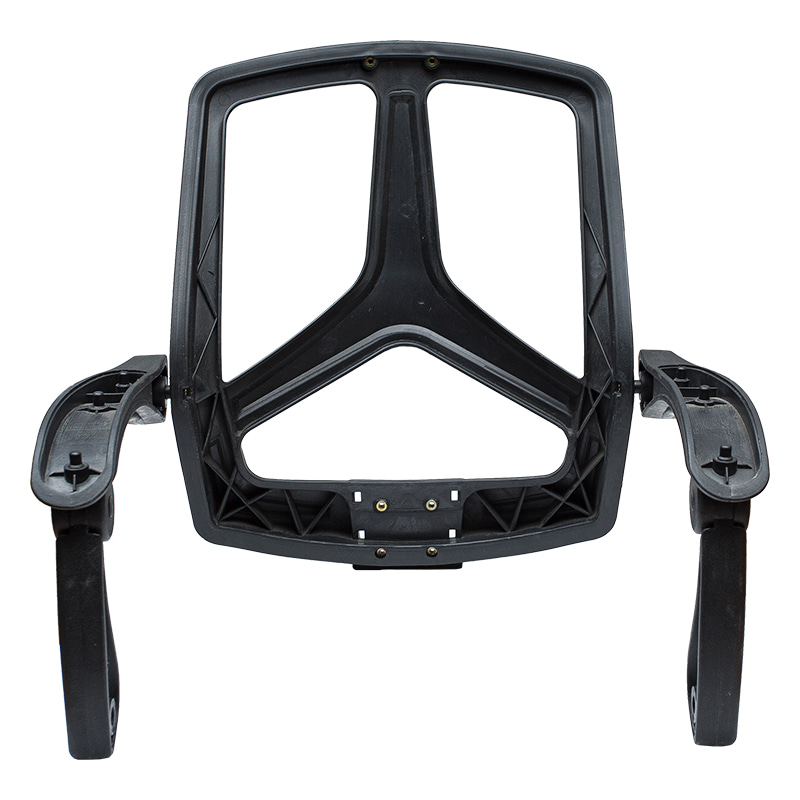
A gaming chair armrest replacement is one of the most frequently needed repairs on high-back gaming-style seating, since the padded armrest tops and their adjustment mechanisms take direct impact from leaning, resting elbows, and repeated height or angle adjustments in a way that standard office chairs rarely experience. The foam or PU-leather padding on gaming chair armrests tends to crack, peel, or compress well before the rest of the chair shows any wear, and once the padding splits, moisture and daily contact accelerate the damage until the armrest top needs to be swapped out entirely rather than patched.
Before ordering a gaming chair armrest replacement, it's worth checking whether the arm mechanism itself, meaning the vertical post and adjustment mechanism that raises, lowers, or pivots the armrest, is still functioning correctly, since some replacement parts only cover the padded top surface while others include the full adjustable arm assembly. Gaming chairs from different manufacturers frequently use different mounting bolt patterns and post diameters even when the chairs look visually similar, so confirming the exact model number before purchasing an armrest replacement avoids the common problem of a part that looks right but doesn't align with the existing mounting holes.
Installing a gaming chair armrest replacement generally follows the same logic covered under how to dismantle an office chair: removing the old armrest from underneath the seat pan by unbolting its mounting bracket, then bolting the replacement into the same holes using the original hardware wherever possible, since replacement kits don't always include matching bolts. For chairs where only the padded top has failed and the adjustable arm post is still solid, some manufacturers sell just the pad and cover separately, which is a considerably cheaper fix than replacing the entire arm assembly and is worth checking before assuming a full gaming chair armrest replacement is necessary.
Once casters, base, cylinder, or armrests start failing on an otherwise structurally sound chair, the real decision isn't whether to repair, but whether to address one component with a targeted office chair replacement base or armrest part, or to work through the whole chair at once using a comprehensive office chair repair kit. Chairs under three to four years old with a single point of failure are almost always better candidates for a targeted part swap, since the frame, seat pan, and remaining mechanisms still have plenty of service life left and don't justify the cost of a full parts rebuild.
Older chairs showing multiple simultaneous issues, such as a sagging cylinder alongside worn casters and a cracked armrest, are usually better served by tackling everything in one pass rather than repairing components one at a time as they fail, since the labor of learning how to dismantle an office chair and reassembling it is largely the same whether one part or four parts are being swapped. Addressing everything in a single session also avoids the frustration of reopening a chair that was just reassembled because a second component failed only weeks after the first repair.
For chairs that see heavy daily use, whether in a home office running a full workday or a gaming setup used for extended sessions, keeping a basic office chair repair kit and a spare set of casters on hand means that a sudden failure doesn't take the chair out of service for days while parts are ordered. Between a properly sized office chair replacement base, a stocked repair kit covering the cylinder and tilt mechanism, and a gaming chair armrest replacement kept on standby for high-wear seating, most chair failures can be resolved in under an hour without needing to replace the chair entirely.
Recommended Products

Call Us
+86 0572-5911661

Need Support

Head Office
ADD:Baishuiwan Industrial Park, Anji County, Zhejiang Province
Copyright © 2025Zhejiang Lubote Plastic Technology Co. , Ltd.
All Rights Reserved.Custom Chair Replacement Accessories Factory

